In this tutorial we’ll learn how to replace default placeholder image in woocommerce. In woocommerce if you don’t upload a product image then woocommerce automatically displays a an image placeholder, we are going to replace that image in this tutorial.
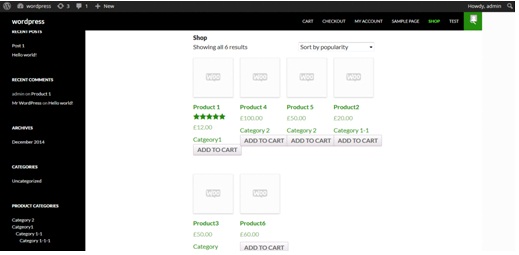
In the image below you’ll see some products for which no image has been added and woocommerce displays a placeholder image instead.
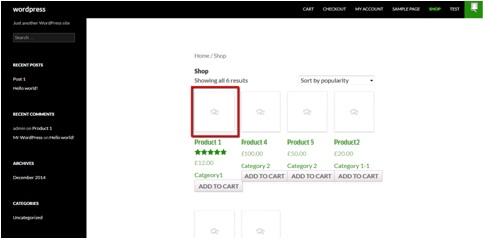 Now let’s say we want to replace this placeholder image with the following image.
 To do this go to backend. Then navigate to media and click on add new.
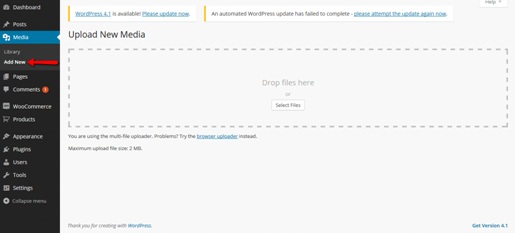 Select the file from your PC and upload the file. After the file has finished uploading, click on edit in front of image.
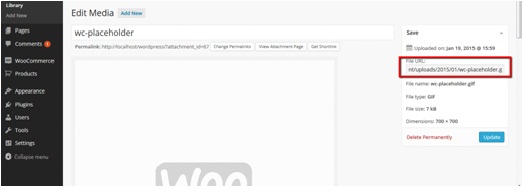
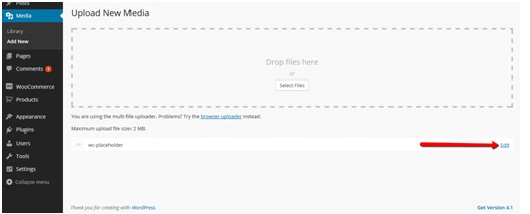 This will take you to the new window. From there you can copy the url of uploaded image.
 Now open your theme’s functions.php file. You can access functions.php file here:
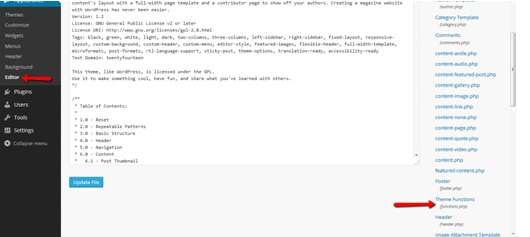 Add the following lines of code at the end of file and hit save.
function custom_fix_thumbnail() {

add_filter('woocommerce_placeholder_img_src', 'custom_woocommerce_placeholder_img_src');


                function custom_woocommerce_placeholder_img_src( $src ) {

                $upload_dir = wp_upload_dir();

                $uploads = untrailingslashit( $upload_dir['baseurl'] );

                $src = $uploads . '/2012/07/thumb1.jpg';


                return 'http://localhost/wordpress/wp-content/uploads/2015/01/wc-placeholder.gif';

                }

}
Replace the url with the url with the url you’ve copied for newly uploaded image and hit save.
Now refresh the shop/category page and you’ll see the new placeholder image.

All may be easier. Go to Woocommerce settings -> Product -> General -> [FIND FIELD] Placeholder image -> [ENTER ID] of image from media library – https://monosnap.com/file/pvbkRd4xHmyr1lNQwsLpIDE4wtJKTL